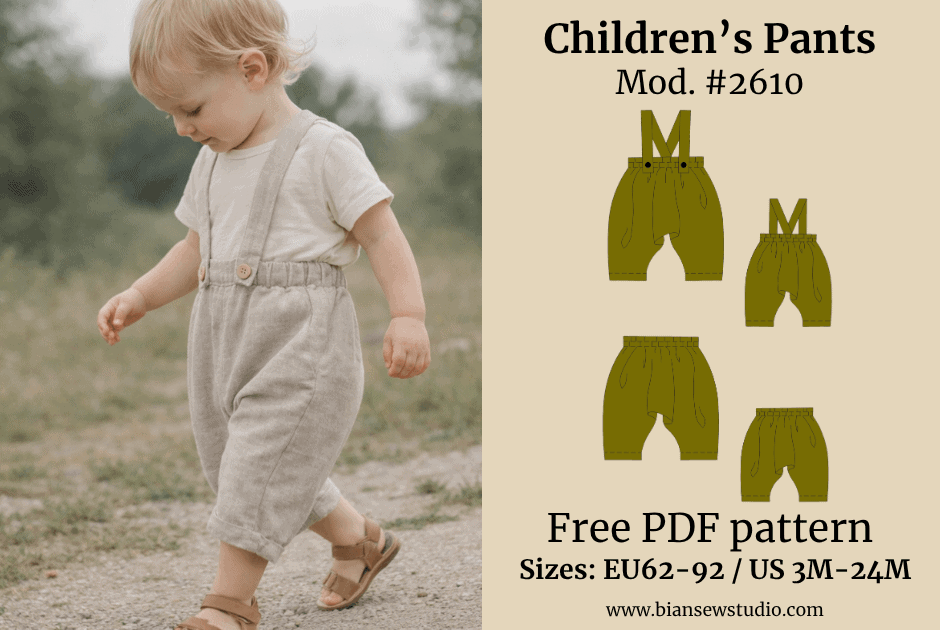
Basic Sewing Terms – Made Simple!
Get to know these key concepts and sew with confidence!
Before you dive into sewing, it’s helpful to understand a few basic terms. Don’t worry — you don’t need to memorize everything perfectly. You’ll naturally pick them up as you sew more. Let’s go step-by-step! 🌟
🧵 Grainline
The grainline is the lengthwise direction of the woven fabric.
Always place the pattern so that the grainline arrow runs parallel to the fabric’s woven edge.
This ensures your garment hangs nicely and fits well!
✂️ Folding the Fabric
On the pattern and layout guide, a dashed line shows where the fabric should be folded.
Align the edge of the pattern with the fabric fold precisely.
Folded edges mean you don’t have to sew that side later — magic!
📌 Basting (Temporary Stitching)
Basting means stitching with big, loose stitches by hand next to the marked sewing line.
It helps hold pieces together temporarily before sewing them permanently by machine.
It’s like sketching before painting — no stress if it’s not perfect!
🎨 Right and Wrong Sides of Fabric
The right side is the one meant to show on the outside — it’s often brighter or shinier.
The wrong side is usually duller or less finished.
When sewing pieces together, place right sides facing each other so the seams stay hidden.
✨ Seam Allowance
Seam allowance is the space between the seam line and the edge of the fabric.
Always leave at least 1.5 cm (about 5/8 inch) beyond the sewing line.
Later, you can trim it neatly to 5–10 mm for a cleaner finish.
Tip: In Bian Sew Studio patterns, remember to add seam and hem allowances yourself!
🪡 Stitching
Stitching means sewing by machine along the seam lines.
Make sure the seam allowance lies flat and doesn’t curl up as you sew.
🔗 Staystitching
When sewing curved areas like necklines, staystitching keeps the fabric from stretching out of shape.
Sew a narrow seam just inside the sewing line.
🧷 Notch Marking (Matching Points)
When assembling pieces, match notches or tiny marks so the parts align exactly.
Carefully cut tiny snips at the notches without cutting into the seam line!
🧼 Edge Finishing
To prevent the fabric from fraying, finish raw edges with a zigzag stitch or use an overlock (serger) machine.
Neat edges = a garment that lasts longer and looks polished inside too!
🧵 Lockstitching
At the beginning and end of each seam, sew a few stitches forward and backward.
This locks the thread so your stitches won’t unravel — small step, big difference!
🌟 Tip: Every pro was once a beginner!
These basics are stepping stones, not hurdles. Be proud of every stitch you make — with each small practice, you’re building the skills for amazing projects! 💖
Keep this guide handy, and return to it whenever you need a little reminder. You’re doing beautifully!

