How to Choose the Right Sewing Pattern for Your Body Type
A Practical Guide to Better Fit Before You Even Start Sewing Choosing the right sewing

A Practical Guide to Better Fit Before You Even Start Sewing Choosing the right sewing
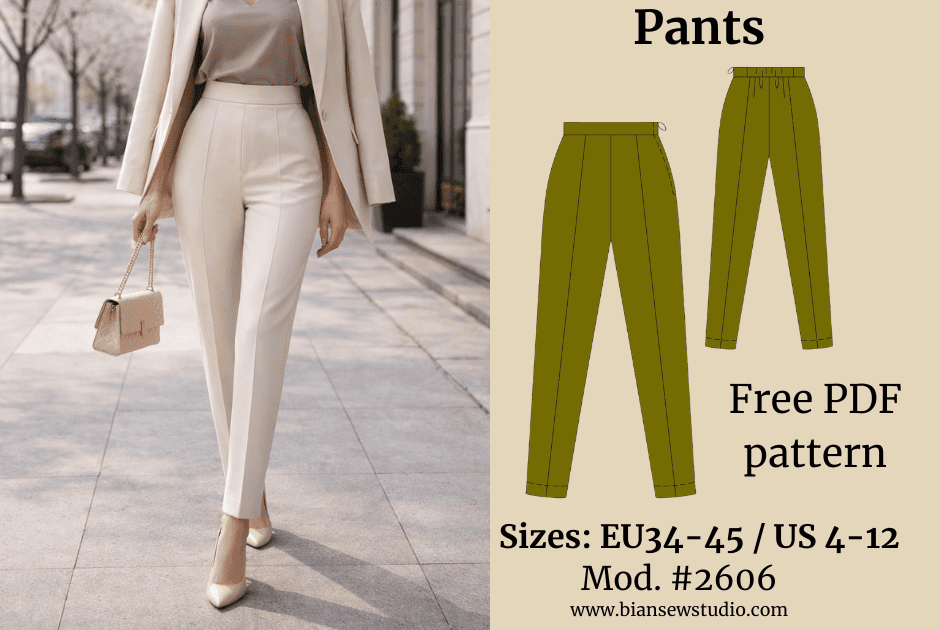
When Your Pants Finally Fit the Way You Imagined Download Free Premium Pattern Have you
The Real Reasons Behind Common Sewing Pattern Fit Issues You carefully measure yourself.You compare your

Mastering Elegance Through Precise Tailoring Download Free Premium Pattern Are you ready to elevate your